Installation of Electrical Appliances in Residential
Introduction
Installing electrical appliances is a critical phase in the construction or renovation of buildings, directly impacting the comfort, functionality, and safety of occupants. With the increasing variety and complexity of electrical equipment, proper and professional installation has become more important than ever. This article explores the tools, steps, standards, and safety tips for correctly installing electrical appliances.
1. Understanding Electrical Appliances and Their Categories
1.1 Types of Electrical Appliances
- Fixed Electrical Appliances: Such as chandeliers, split air conditioners, wall-mounted water heaters, video intercoms, kitchen hoods.
- Portable Appliances: Including vacuum cleaners, irons, laptops, mobile chargers, and fans.
1.2 Differences in Installation
- Fixed appliances require permanent installation and connection to the building’s electrical system.
- Portable appliances only need to be plugged into a wall outlet and require no special installation.
Installation of Electrical Appliances in Residential
2. Required Tools and Equipment
2.1 Manual Tools
- Screwdrivers (flathead and Phillips)
- Voltage tester (test pen)
- Wire cutters, pliers, long-nose pliers
- Hammer, measuring tape, level
2.2 Electrical and Specialized Tools
- Electric drill
- Voltage tester or multimeter
- Ground resistance tester
2.3 Safety Equipment
- Insulated gloves
- Safety shoes
- Protective goggles
- Wooden or insulated ladder
Installation of Electrical Appliances in Residential
3. Steps for Installing Electrical Appliances
3.1 Site Assessment
Before installation:
- Ensure access to a power source
- Check for moisture or proximity to water
- Provide adequate ventilation
- Allow easy access for future maintenance
3.2 Power Shutdown
Turn off power from the main circuit breaker before starting any installation to ensure safety.
3.3 Physical Mounting
Installation of Electrical Appliances in Residential
Mount brackets, wall anchors, or supports depending on the type of device.
3.4 Wiring and Electrical Connections
- Use wires with proper gauge
- Follow standard wire color codes (Live: Red or Brown, Neutral: Blue, Ground: Green/Yellow)
- Ensure secure connections with proper terminals or heat-shrink sleeves
3.5 Final Testing and Operation
Once installation is complete:
- Turn the power back on
- Test the device’s functionality
- Check for short circuits or current leakage
Installation of Electrical Appliances in Residential
4. Essential Safety Guidelines
4.1 Importance of Electrical Safety
Neglecting safety can result in:
- Electric shock
- Fire hazards
- Device damage
- Serious injuries or fatalities
4.2 Key Safety Practices
- Always cut the power before starting work
- Use certified tools and wires
- Properly ground (earth) metal-bodied devices
- Avoid working in damp or wet environments
- Install Residual Current Devices (RCDs) for added protection
Installation of Electrical Appliances in Residential
5. Standards and Regulations
5.1 National Electrical Standards (Iran)
- Use only certified wires, cables, switches, and sockets
- Follow national standard 1-110 for internal building wiring
5.2 Engineering Regulations
- Installations must be performed by licensed electricians or certified engineers
- Follow approved electrical blueprints
5.3 Manufacturer Guidelines
- Always read and apply the user manual
- Pay attention to input voltage, current rating, and environmental requirements
6. Installing Common Household Appliances
6.1 Installing a Split Air Conditioner
- Mount indoor unit with a secure wall bracket
- Drill hole for refrigerant pipes and electrical cables
- Connect wiring, copper pipe, and drain hose
- Vacuum the system and test for proper cooling
6.2 Installing a Chandelier
- Turn off the power
- Access and prepare the ceiling box
- Secure hook or bracket
- Connect wires properly
- Test lighting circuit
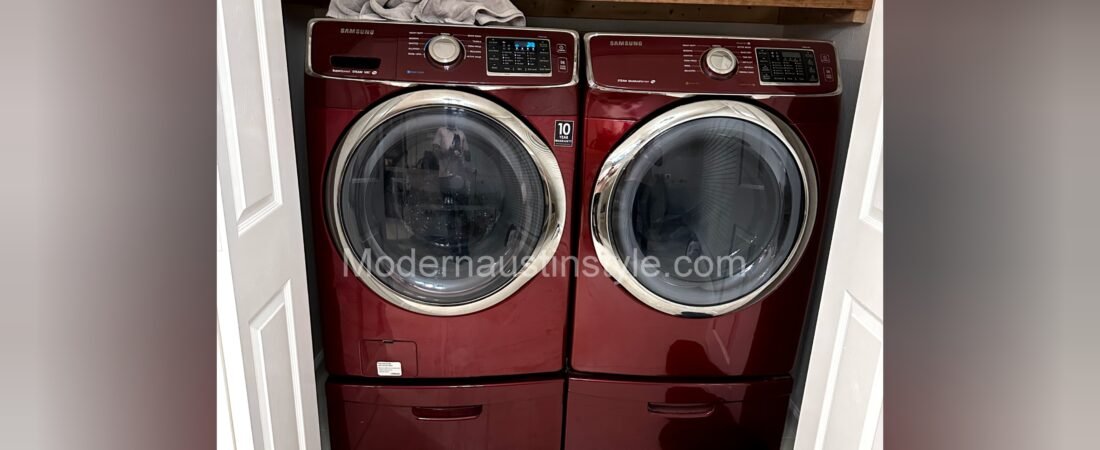
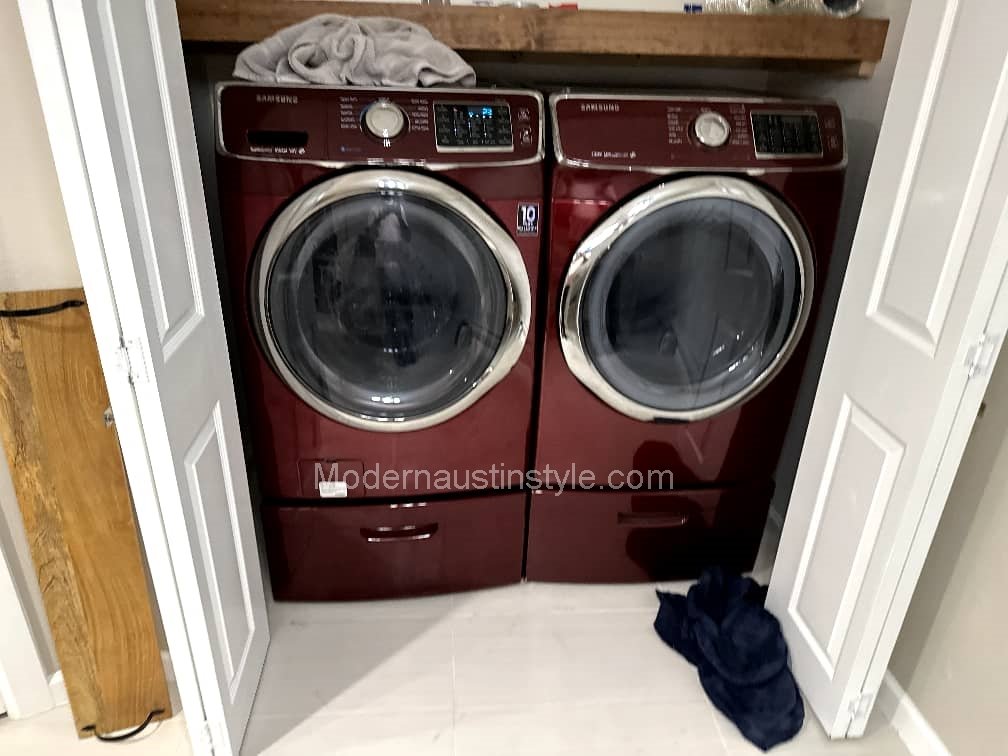
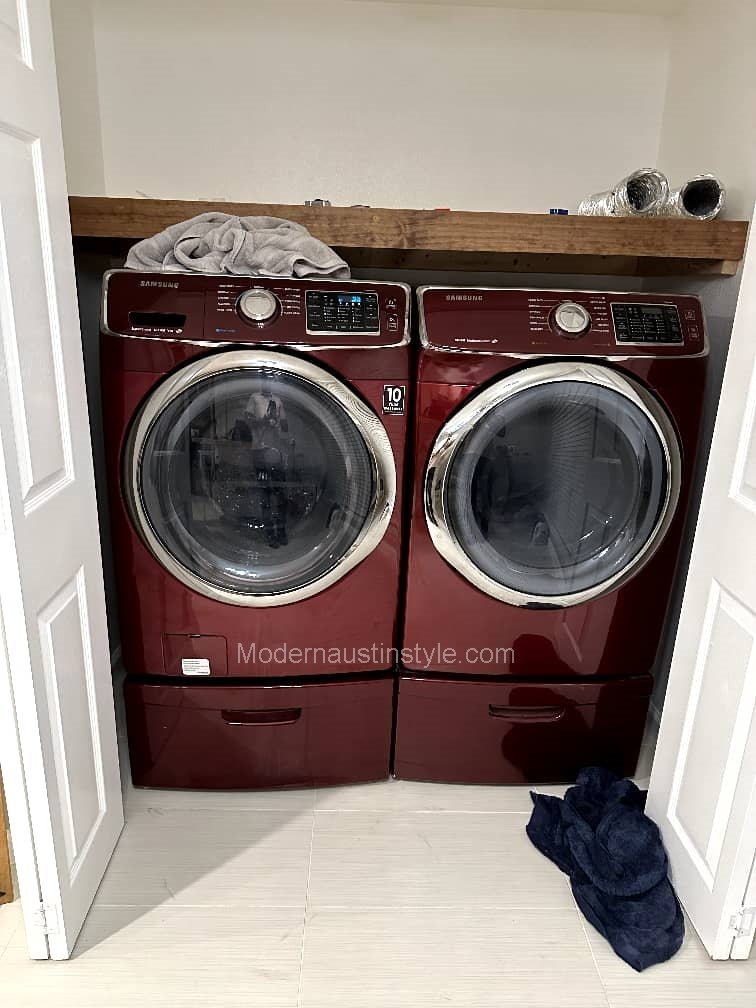
6.3 Installing a Washing Machine
- Place the unit on a level surface
- Connect to a dedicated grounded power outlet
- Attach water inlet hoses and drain pipe
- Test machine operation and check for leaks
7. Common Installation Mistakes
- Using substandard extension cords
- Plugging heavy-load appliances into shared outlets
- Incorrect wiring of live and neutral wires
- Skipping ground connection for metallic appliances
- Ignoring ventilation and environmental conditions
8. Tips for Homeowners and Users
- Always hire a qualified technician for installations
- Use surge protectors for sensitive electronics
- Turn off and unplug a device at the first sign of malfunction
- Keep electrical appliances away from water or steam sources
🔌 Step-by-Step Guide to Installing Electrical Appliances
Including Safety and Technical Guidelines
1. Initial Site Assessment
Before starting:
- Identify the type and power rating of the appliance (portable/fixed, low/high power).
- Assess the environment:
- Adequate ventilation
- Dry and moisture-free location
- Close proximity to a power outlet or distribution box
- Make sure the wiring and circuit breaker are suitable for the device.
2. Power Shutdown and Safety Preparation
- Turn off power at the main breaker or circuit fuse.
- Verify absence of voltage using a voltage tester or multimeter.
- Use proper personal protective equipment (PPE):
- Insulated gloves
- Safety shoes
- Tools with insulated handles
3. Mechanical Installation of the Device
- Install the wall bracket, base, or support frame securely.
- Ensure all components are level and stable.
- If drilling is needed, use proper wall anchors and an electric drill.
Examples:
- Air conditioner: Mount indoor unit on the wall
- Washing machine: Level and place on a flat surface
- Chandelier: Install hook and ceiling plate
Installation of Electrical Appliances in Residential
4. Electrical Wiring and Connection
- Use properly rated wires with sufficient gauge.
- Follow standard color codes:
- Live/Hot: Red or Brown
- Neutral: Blue
- Ground (Earth): Yellow-Green
- Secure connections using terminals, wire caps, or heat-shrink sleeves.
- For high-power appliances, use a dedicated outlet (not a shared power strip).
5. Grounding (Earthing) and Electrical Protection
- Appliances with metal frames or high power consumption must be grounded.
- If no ground is available, install a dedicated earthing system.
- Use Residual Current Devices (RCDs) for added protection against electric shock.
Installation of Electrical Appliances in Residential
6. Testing and Power-On
- Restore power and turn on the appliance.
- Check for proper operation:
- No unusual noise, vibration, or burning smell
- All functions working normally
- If issues occur, immediately disconnect and recheck connections
7. Final Setup and User Instruction
- Organize excess wiring with clips, ties, or cable ducts.
- Close all panels and enclosures properly.
- Instruct the user on:
- Safe operation
- Routine maintenance
- Which breaker or fuse corresponds to the device
✳️ Additional Tips
| Item | Recommendation |
|---|---|
| High-power devices | Use dedicated outlet and separate wiring |
| Damp environments | Keep distance + install an RCD |
| Heavy appliances | Use strong brackets and ensure proper support |
| Surge protection | Recommended for fridges, TVs, and computers |
✅ Summary
Proper installation of electrical appliances requires attention to detail, technical know-how, and strict safety practices. Following these steps ensures optimal performance, longer device lifespan, and protection against hazards.
🧺 Optimized Guide to Installing a Washing Machine
Step-by-step, Practical, and Safe
✅ Prerequisites
Required Tools:
- Adjustable wrench
- Screwdriver
- Spirit level
- Voltage tester
- Water inlet and drain hoses (usually included with the machine)
Installation Site Requirements:
- Flat, solid, and level surface
- Close to a grounded power outlet, water tap, and drain
- Well-ventilated, dry area away from direct sunlight
⚙️ Installation Steps
1. Remove Transit Bolts
- Most new washing machines come with transit bolts on the back to secure the drum during transportation.
- These must be removed before first use to prevent damage.
- Keep the bolts and spacers in case the machine needs to be moved again.
2. Position the Machine
- Place the washing machine on a flat, even surface.
- Avoid placing it on carpets or uneven flooring.
- Keep at least 10 cm of space behind the machine for ventilation and hose connections.
3. Level the Machine
- Use a spirit level to ensure the machine is perfectly horizontal.
- Adjust the feet using a wrench to eliminate wobbling or vibration during operation.
4. Connect the Water Inlet Hose
- Connect the cold water hose (and hot, if applicable) to the tap.
- Hand-tighten the connector, then slightly tighten with a wrench.
- Ensure the rubber washer inside the connector is in place to prevent leaks.
5. Connect the Drain Hose
- Secure the drain hose to a standpipe, sink drain, or wall outlet.
- Recommended height: 60 to 90 cm from the floor
- Make sure the hose is not bent, kinked, or blocked.
6. Plug in the Power Cord
- Plug the machine into a grounded wall outlet with surge protection.
- Do not use extension cords or power strips.
- Use a voltage tester to ensure the outlet is live and properly grounded.
7. Initial Test Run
- Run a short test program (e.g., rinse or quick wash).
- Check for:
- Water leaks at hose connections
- Unusual noise or excessive vibration
- Proper rotation of the drum and water draining
⚠️ Safety Tips
- Do not move or tilt the machine while it’s running.
- After each wash, leave the door open to let the interior dry.
- Use detergent designed specifically for washing machines.
- Clean the drain filter every few months for optimal performance.
📌 Summary
Proper installation ensures your washing machine runs efficiently, safely, and lasts longer. By following these clear and simple steps, you’ll avoid common issues and enjoy worry-free laundry use.
Important Tips for Installing a Washing Machine
Use detergents designed specifically for washing machines.
Remove Transit Bolts
Transit bolts on the back of the machine must be removed before installation; leaving them in place can damage the drum and motor.
Choose a Suitable Location
Place the machine on a flat, firm, and level surface.
Avoid placing it on carpets or rugs.
Maintain at least 10 cm clearance from the wall for ventilation and hose connections.
Level the Machine Properly
An unlevel machine causes excessive vibration and noise during operation, which can damage internal components.
Proper Water Hose Connection
Use quality and standard hoses and fittings.
Ensure rubber washers inside fittings are intact to prevent leaks.
Open and close water valves carefully to avoid leaks.
Correct Drain Hose Height
The drain hose should be positioned between 60 and 90 cm above the floor and should not be bent or blocked.
Use Standard Electrical Connection
Plug into a grounded outlet with surge protection.
Do not use extension cords or power strips.
The outlet must be properly earthed (grounded).
Perform Initial Testing and Check for Leaks and Operation
Run a short cycle before full use and check for leaks, excessive vibration, or unusual noises.
Avoid Humidity and Direct Sunlight Exposure
Installing the machine in a dry area away from direct sunlight prolongs its lifespan.
Leave the Door Open After Use
To prevent mold and bad odors, keep the door open after washing to allow drying.
Regular Maintenance and Cleaning
Clean the drain filter every few months.
Conclusion
Installing electrical appliances is a technical task that requires precision, skill, and strict adherence to safety standards. Choosing the right tools, following national regulations, and consulting professional technicians are the keys to ensuring the safe and efficient operation of electrical devices. Electricity is a vital yet dangerous force, and only with knowledge and caution can it be used safely and effectively.
📞Need help?
Let us take care of the hard work while you sit back and relax.
📍Address: 3411 Monument Dr, Round Rock, TX 78681-3756
☎️Phone Number: 7373306737
🔵Visit: https://modernaustinstyle.com
